|
Vertical Walls Continued
page 7
(Now the tough one but Mert make it look easy!) |
Return to Page 1
or Page -2
or page 3
or Page 4
or page5
or page 6
or Page 7
or Page 8 |
|
The dinning room wall curves to match the dome curve. Initially we discovered
that the opening goes up so high that there would be no overhang so we
just moved the wall further into the dome! That's the flexibility one has
with a dome. If this where a straight stick construction it may have been
impossible but then again it wouldn't have a curved wall would it? |
 |
Vertical rebar holding the 3" foam in place with curved strips of
plywood we cut to the shape we wanted. |
 |
 |
After installing the window buck (frame) we added
supports to keep everything where it should be. |
 |
What it looked like after the shotcrete
and sand coat has been applied. |
 |
Outside views of the dinning room window. |
 |
 |
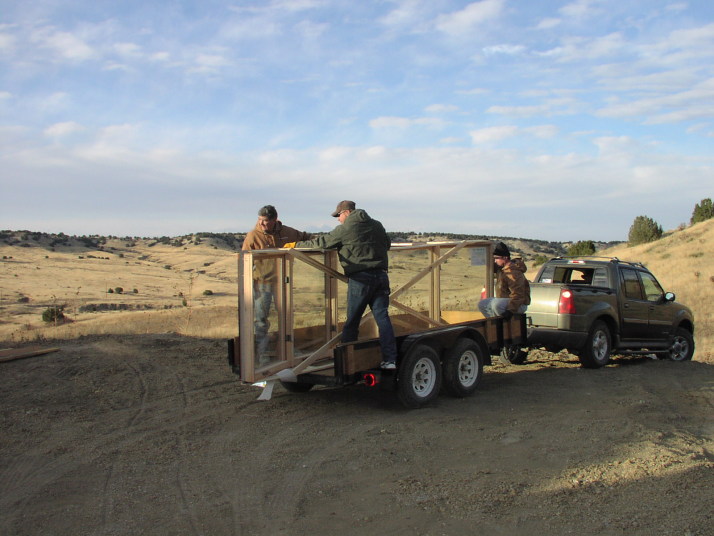
This window is so big and heavy that we loaded it onto the trailer to bring it around to the back of the house so we didn't break anything or injure ourselves.
Even this close it was a struggle! |
 |
 |
Wow its in place! Here are a couple of views. |
 |
|
|
|
|
Inside finish
|
|
 |
After the shotcrete is shot and still wet the entire surface is scraped
to knock off the rough spots. You can still see the rebar patterns in some
areas. The left picture shows the lower half of the dome has been sand
coated as well as the dome I am standing in. |
 |
Here you see the rough (right) and smoother sand coat (left).
|
 |
That looks so much better than the rough shotcrete surface! |
 |
Tools of the trade. After shotcrete-ing the sand coat you knock it down
with the metal trowel and then go over it with the sponge trowel. |
|
|
|
|
Window treatments
Some of our windows are placed in the domes themselves. We used Velux Skylights because they are designed to be installed on an angle. |
|
 |
Mert is installing the screening around the window opening. We decided
to go this route rather than wood framing (those that know me know how
hard of a decision that was being a woodworker) because of the curves of
the dome on all 4 sides. Making moldings would be tough but also may look
too bulky. |
 |
 |
Add some concrete to even out the sides of the window openings. |
 |
| A coat of stucco to smooth it up! |
|
Wall Joints
|
|
 |
The vertical walls have an expansion joint on top (remember the slip joint) to allow for movement (we hope not). The are screened over and stuccoed in place. This should look great unless there is some major wall movement. |
 |
 |
Final joint cover-up |
 |
| Check out the vertical wall joint after the stucco finish coat. |
|
Final interior coating.
|
|
 |
Phil mixes the 80lb bags of stucco by hand. |
 |
| Dump it into the pump and start it up (check there is enough gas!). |
 |
Mert sprays it on. |
 |
| Beth gets into the act! (Great outfit Beth!) |
|
|
|
 |
It looks great after the final stucco coating! |
 |
All I need is a floor in the shop area
and I can unpack my tools!!!
I can hardly wait! |
|
|
Return to Page 1
or Page -2
or page 3
or Page 4
or page5
or page 6
or Page 7
or Page 8 |